Are you seeking ways to keep your food fresh and your products well-preserved? Want to know how to seal mylar bags professionally? Look no further! CrownPackages presents everything you need to know about sealing Mylar bags effectively. Whether you’re a business owner, a homesteader, or simply someone who values food freshness, mastering the art of sealing Mylar bags is crucial.
Mylar bags offer a powerful solution for long-term storage and protection of various items. From food preservation to safeguarding precious documents, these versatile bags excel at keeping contents fresh and secure. But to unlock their full potential, proper sealing is crucial. This guide equips you with the knowledge and skills to become a mylar bag sealing pro, ensuring your stored items stay safe and last longer.
Basic Understanding to Seal Mylar Bags
Sealing Mylar bags correctly is paramount to safeguarding their contents. These versatile bags are commonly used for long-term food storage, electronics packaging, and more. Here’s a step-by-step guide to ensure you seal Mylar bags flawlessly:
Material Needed
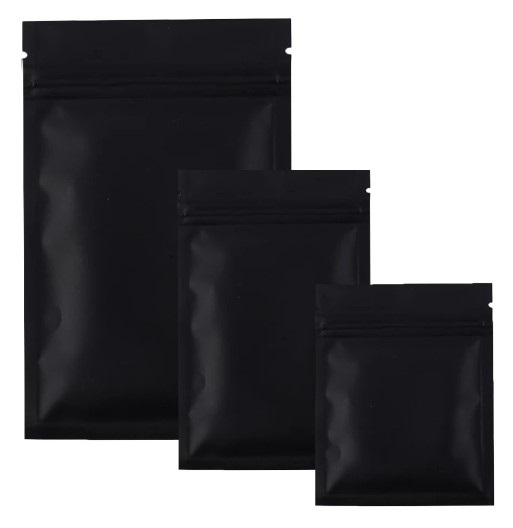
- Mylar Bags: Choose high-quality bags in a size suitable for your needs.
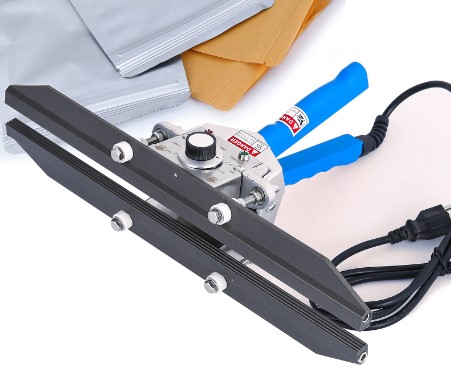
- Heat Sealer: An impulse heat sealer is ideal for creating airtight seals on mylar bags.
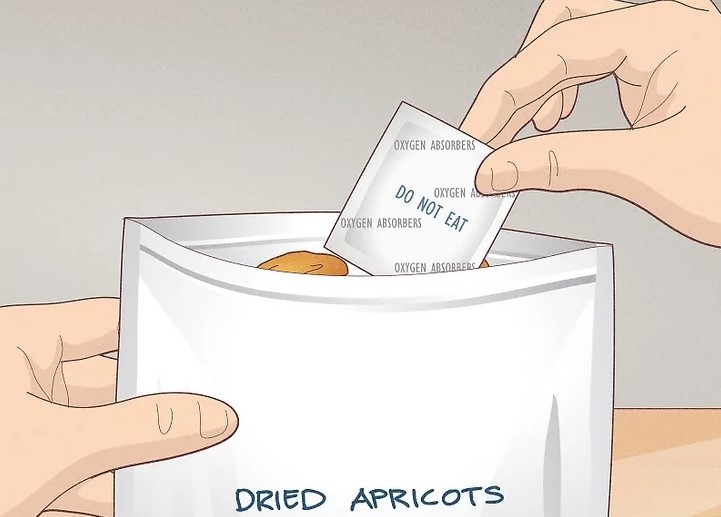
- Oxygen Absorbers (Optional): For long-term food storage, oxygen absorbers remove oxygen and extend shelf life.
Prepare for Sealing
- Clean and Dry: Ensure the items you plan to store are clean, dry, and free of moisture. This prevents mold or mildew growth during storage.
- Oxygen Absorbers (if using): Place oxygen absorbers inside the bag before sealing to remove oxygen and maintain freshness.
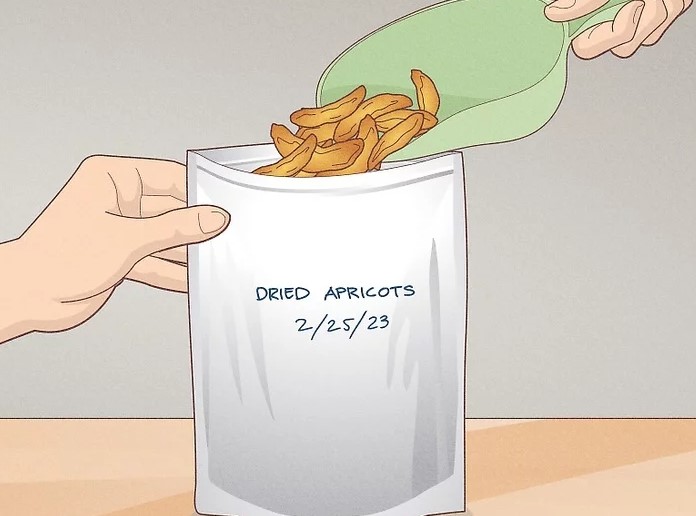
- Open and Fill: Carefully open the mylar bag and place your items inside. Leave enough space at the top for proper sealing.
- Fold for Sealing: Fold the top of the mylar bag down to create a clean, flat surface for the heat sealer. This also prevents contamination of the sealing area.
Applying the Seal
- Heat Up: Turn on your heat sealer and allow it to reach the recommended temperature according to the manufacturer’s instructions.
- Positioning: Place the folded portion of the mylar bag between the heat sealing bars, ensuring some extra material extends beyond the sealing area.
- Seal it Tight: Press down on the heat sealer’s arm or lever to apply heat and pressure for a few seconds. The exact time may vary depending on the heat sealer and bag thickness. This step melts the mylar material, forming a secure seal.
- Release and Check: Once sealed, release the heat sealer and allow the seal to cool for a few seconds for proper setting. Gently tug on the seal to ensure it’s airtight and secure. Reseal if necessary.
Finishing Touches
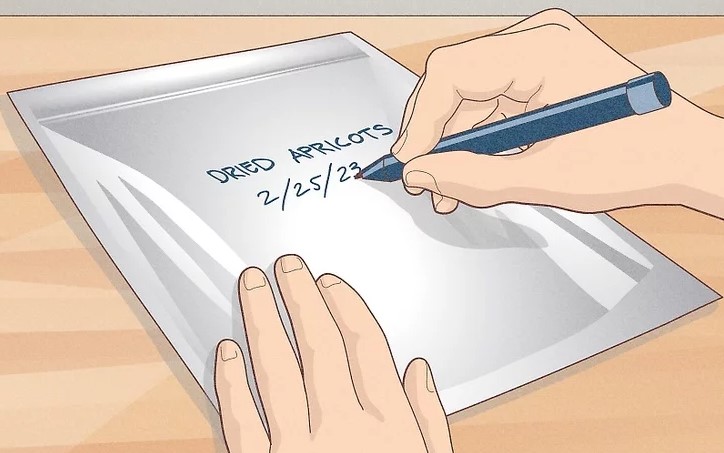
- Labeling: Use a permanent marker to label your mylar bag with the contents and date of packaging for easy identification.
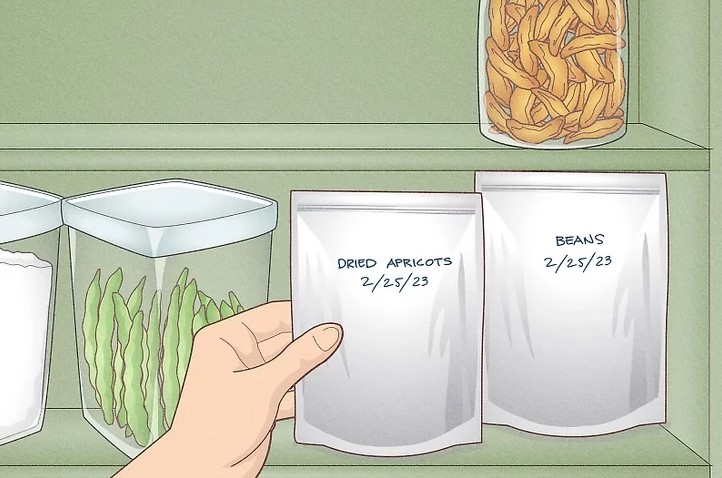
- Storage: Store sealed mylar bags in a cool, dry, and dark place to maximize their effectiveness. Light and heat can degrade the material over time.
Practice Makes Perfect
As a beginner, practice sealing on empty mylar bags before tackling valuable items. This helps you get comfortable with the heat sealer and ensures successful sealing. Always refer to your heat sealer’s manual for specific instructions and optimal results.
Mylar Bag Applications
Mylar bags boast a wide range of applications, making them a valuable tool for various needs:
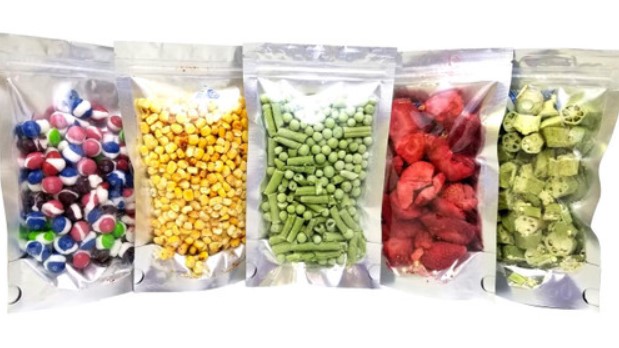
- Long-Term Food Storage: Mylar bags are exceptional for preserving food items like grains, nuts, and dried fruits for extended periods.
- Document Protection: Safeguard essential documents like wills, deeds, or photographs by storing them in mylar bags to prevent moisture damage or fading.
- Collectible Preservation: Protect comic books, sports cards, or other valuable collectibles from dust, moisture, and light using mylar bags.
- Outdoor Gear Storage: Keep camping and hiking gear organized and protected from the elements with mylar bags.
- Long-Term Clothing and Shoe Storage: Preserve off-season clothing and shoes by storing them in mylar bags, protecting them from dust and moisture.
- Herb and Spice Storage: Extend the shelf life of herbs and spices by storing them in mylar pouches/bags with minimal oxygen exposure.
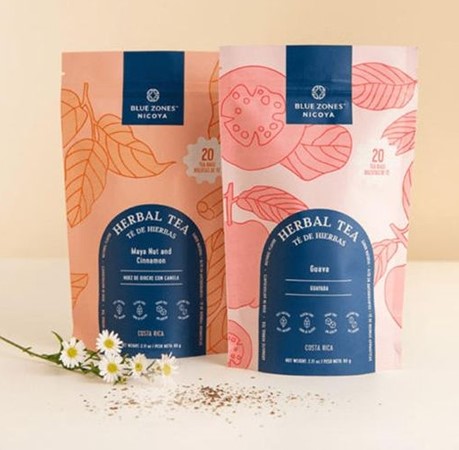
- Product Packaging: Mylar bags offer a unique and durable packaging option for various products like tea, coffee, or medical supplies.
- Metal Part Protection: Prevent rust and corrosion of metal objects like nuts and bolts by storing them in mylar bags.
- Media Storage: Protect CDs, vinyl records, and DVDs from scratches and dust by storing them in mylar bags.
- Firearm Storage (with Caution): Mylar pouches/bags can be used for firearm storage, but always combine them with desiccant packs to absorb moisture and prevent rust.
Mylar Bag Printing for Adding a Personal Touch
Printing custom designs on your mylar pouches/bags can enhance brand recognition or add a personal touch. However, keep in mind that mylar’s non-porous surface presents some printing challenges:
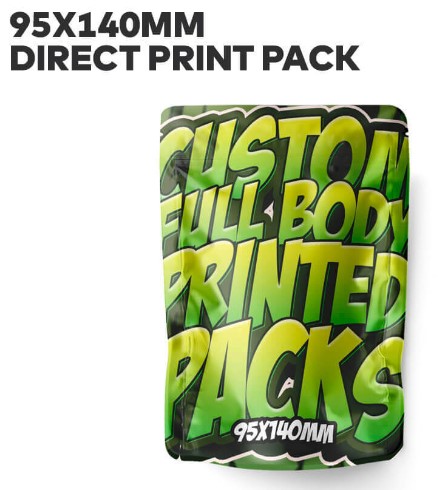
Direct Printing
This method requires a printer compatible with mylar material and specialty inks designed for plastic surfaces. Experiment with test prints on regular paper before printing on your mylar bags.
- Choose the Right Printer: Select an inkjet printer compatible with Mylar material.
- Prepare Artwork: Create or adapt your design using high-resolution graphics software.
- Test Printing: Ensure accuracy by testing on regular paper before printing on Mylar.
- Adjust Printer Settings: Configure settings for Mylar printing, considering ink adhesion and drying time.
- Load and Print: Align and print your design onto the Mylar bag, ensuring proper adhesion.
- Dry and Handle with Care: Allow the ink to dry thoroughly before handling the printed bags.
Label Printing
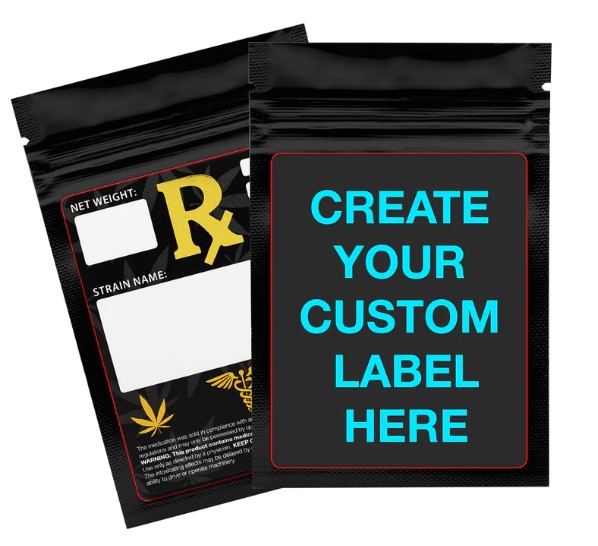
This is a simpler approach. Print your design on standard label sheets and carefully adhere them to the mylar pouches/bags. Ensure smooth and even application for a professional look.
- Print Labels: Design and print labels on suitable label sheets.
- Cut and Apply: Cut out labels and apply them evenly to the Mylar bags.
- Press Firmly: Ensure proper adhesion by pressing labels firmly onto the bags.
Important Considerations for Mylar Bag Printing
- Ink Adhesion: Mylar’s non-porous surface can make ink adhesion difficult. Opt for water-based inks specifically formulated for plastic surfaces.
Smudging: Since ink drying times can be longer on mylar, handle the bags carefully to avoid smudging the printed design. - Printer Compatibility: Not all printers are suitable for mylar due to the material’s characteristics. Ensure your printer can handle the material’s thickness and heat resistance.
- Design Complexity: Mylar’s surface texture can affect how intricate designs reproduce. Complex patterns, fine text, or small details may not translate accurately.
Testing is Key
Before committing to a large-scale printing project, experiment with your chosen printer, inks, and techniques on a few test mylar bags. This allows you to refine your approach and achieve the desired results.
CrownPackages: Your Mylar Bag Partner
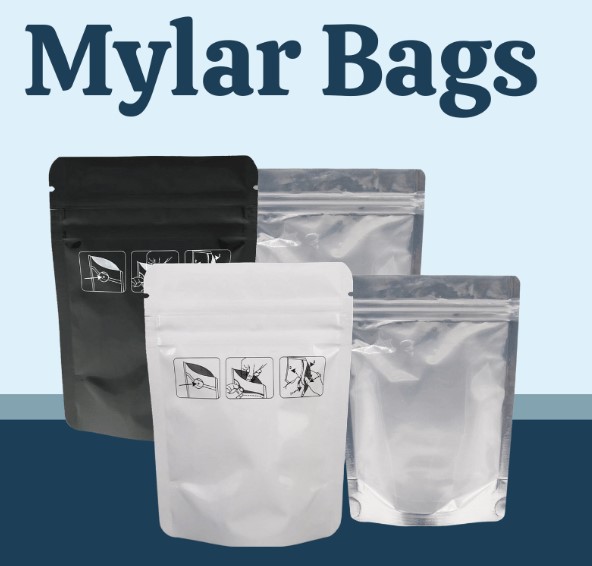
At CrownPackages, we understand the importance of proper mylar bag sealing and customization. We offer a wide selection of high-quality mylar bags in various sizes and thicknesses to suit your specific needs. Additionally, our team of experts can guide you through the printing process, ensuring your mylar bags not only protect your products but also showcase your brand identity.
Here’s how CrownPackages can assist you:
- Mylar Bag Selection: Our specialists will help you choose the ideal mylar bag size and thickness based on your application and storage requirements.
- Heat Sealer Recommendations: We can recommend suitable heat sealers for optimal results with your chosen mylar bags.
- Custom Printing Solutions: Our team can assist you with designing and printing custom logos or labels for your mylar bags, creating a professional and visually appealing presentation for your products.
Conclusion
Whether you require high-quality mylar pouches/bags, expert advice on sealing, or assistance with custom printing, CrownPackages is your one-stop shop. Let us help you unlock the full potential of mylar bags and elevate your storage and packaging solutions. Contact us today to discuss your needs and explore how we can empower you to Seal the Deal on protecting and showcasing your products.
Frequently Asked Questions
